Have you created a polished document in Google Docs, like a resume with images, tables, and text, or perhaps a simple letter?
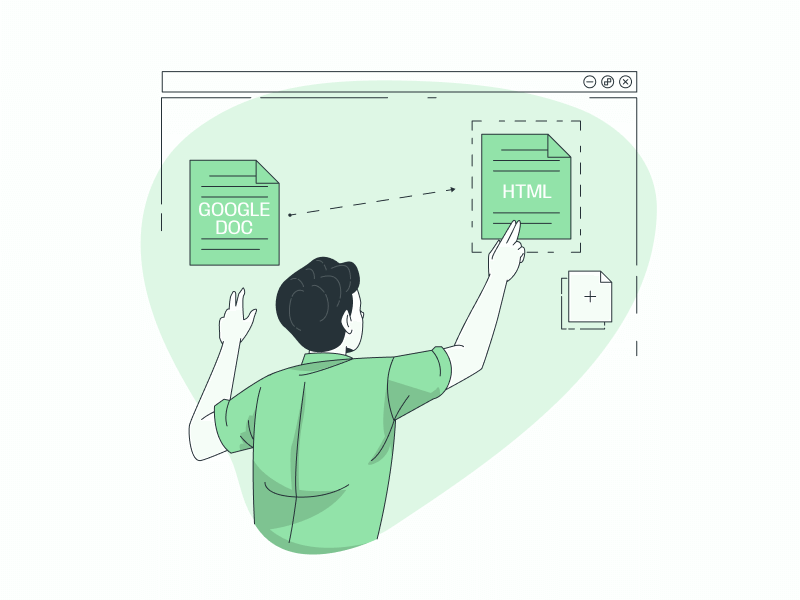
Now you might be wondering how to convert it to HTML for sharing on your website or as a downloadable webpage.
Worry not!
Converting your Google Doc to HTML is a breeze.
Google Docs has a built-in function that lets you download the entire document as HTML, including images and formatting.
This tutorial will guide you through the conversion process..
Here’s How to Convert Google Doc to HTML:
Step 1 | Step 2 | Step 3 | Step 4 | Step 5 | Step 6
Step 1: Open your Google Docs document

Before we begin, ensure you have your Google Doc ready for conversion.
If it’s already open, fantastic! Jump to the next step.
Otherwise, you can either open an existing document or create a new one:
- Open an Existing Document: Sign in to your Google account at https://docs.google.com/ and locate the document you want to convert.
- Create a New Document: Open a web browser and type “docs.new” in the address bar. Press “Enter” to launch a new blank Google Doc. Edit the document as needed.
Now that you have your chosen document open, proceed to the next step.
Step 2: Navigate to the “File” menu at the top of the screen

Once you have your Google Doc open, locate the menu bar at the top of the screen.
This horizontal bar displays various options for editing and managing your document.
Click on the “File” option within this menu bar to reveal a dropdown menu with further functionalities.
Step 3: Select “Download” from the menu options

Clicking “File” opens a dropdown menu with various options.
Locate “Download” and hover your cursor over it.
This will reveal a sub-menu showcasing different download formats.
Step 4: Choose “Web Page (.html, zipped)” from the download formats

Select “Web Page (.html, zipped)” for download.
The “Download” submenu offers various formats like Microsoft Word (.docx), PDF (.pdf), and Plain Text (.txt). Look for “Web Page (.html, zipped)” which is typically the sixth option.
This format is ideal because:
- .html extension: Ensures your document is converted to a web-readable format.
- Zipped file: Includes any images used in your document within a folder named “images” for easy organization.
Simply click “Web Page (.html, zipped)” to download the converted document as a ZIP file.
Also read (opens in a new tab):
Free Google Docs Checklist Templates for Every Need!
How to Put Header Only on the First Page in Google Docs
27 Most Aesthetic Fonts on Google Docs
23 Best Typewriter Fonts for Google Docs
Step 5: Find the downloaded ZIP file on your computer and unzip it

Find and unzip the downloaded file.
Your operating system will likely save it to your default download folder.
Locate the file (it will have a .zip extension) and right-click it.
Choose “Extract All” (or a similar option depending on your system) to unzip the contents.
Alternatively, you can double-click the zipped file to view its contents and then copy the files (HTML and any “images” folder) to a new location.
Now you’re ready for the next step!
Step 6: Open the extracted HTML file with a web browser to see your converted document

Open your converted document.
Inside the unzipped folder, you’ll find the HTML file and an “images” folder if your document contained images.
Double-click the HTML file to view your document in its converted web format.
As it’s now a webpage, it will automatically open in your default web browser.